5. Rhythm Hunters | The Beginning
7 August 2018 // By Kat Atkins
The process
This is my first time creating life size sculptures so if you have had enough of the background and want to know how on earth I pulled it off, continue to read on…
Rhythm Hunters | The beginning
After years of collecting “Nature’s Treasure”, it was time to do something with it. Collecting driftwood would polarise the project and emphasise the importance of recycling and appreciating the beauty of nature.
My entire family got on board and began gathering pieces of driftwood for me as well. My uncle and cousin used it as an excuse for a drive along the beach and filled a trailer!
I got to the point where I had more than enough “Treasure” to play with, and therefore, it was time begin!
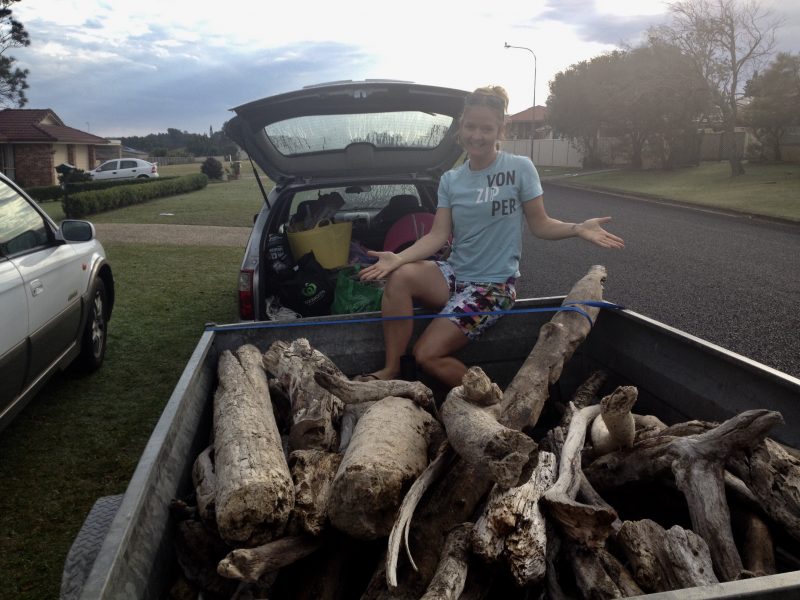
The collection of driftwood
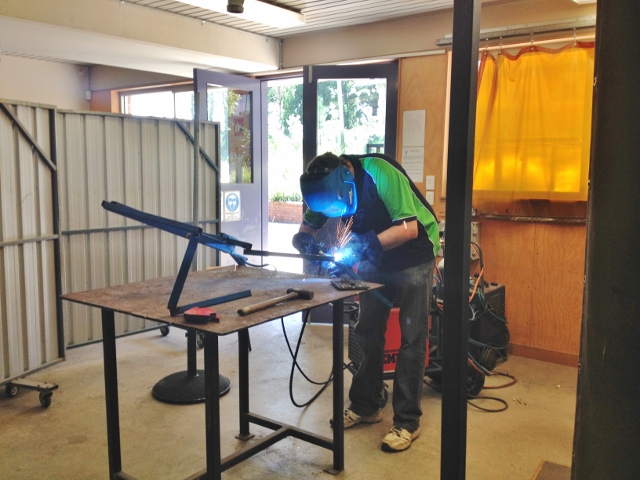
Rob Newell welding the frames together
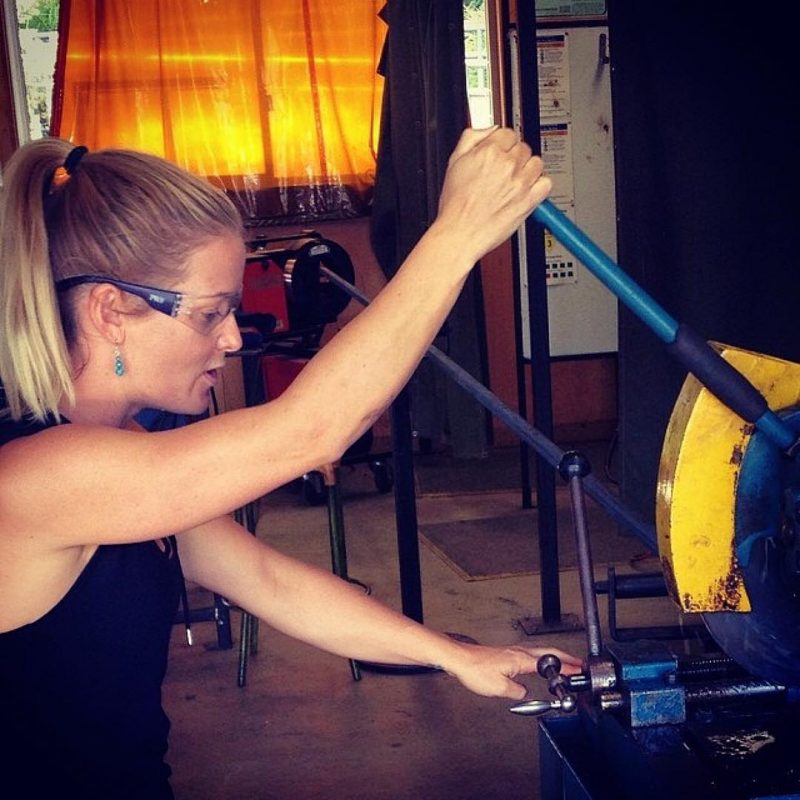
Kat Atkins recycling steel off cuts and cutting them to size
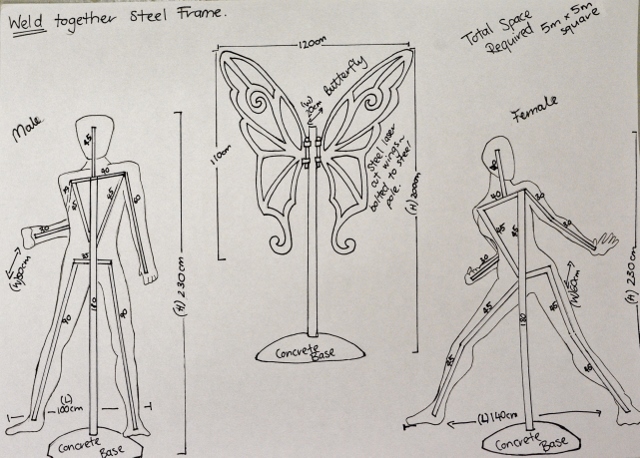
I took my concept to Rob Newell, an Industrial Arts Teacher (and my cousin) specialising in metal work. I used concrete bases and galvanized steel poles as the main weight bearers for the sculptures, but I still needed a strong frame for the human forms in order to hold the weight of the driftwood and withstand nature’s elements. Reusing steel off cuts, I measured and cut them to size for Rob to weld together.
This ensured the sculptures had a strong and solid structure and also created a guide to attach the driftwood…
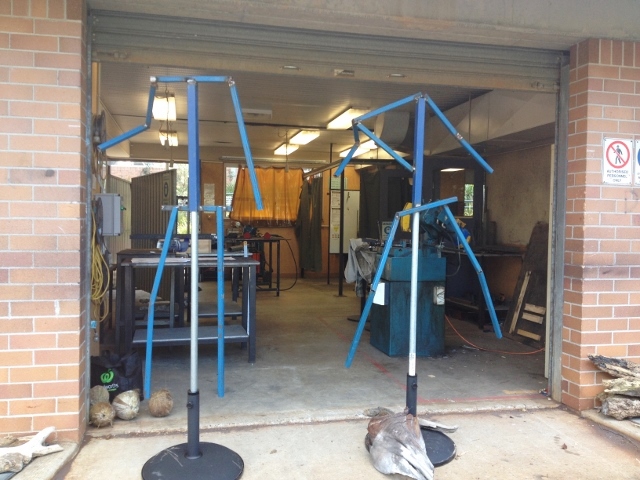
The inside frames of the Rhythm Hunters
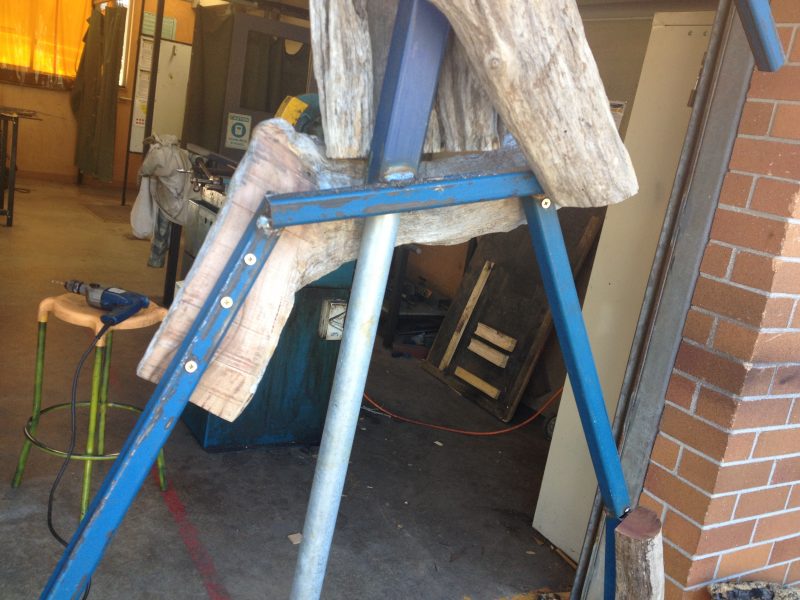
Securing the driftwood to the steel frame.
All of the driftwood was laid out into similar sizes and shapes. Holes were drilled through the steel so the main pieces could be attached to the frame.
I played around with multiple pieces, turning them on all different angles to find the best piece to represent each section of the body.
Temporarily taping them in place allowed me to step away to see if it looked right, then make any adjustments where necessary.
Some of the pieces were trimmed so they could fit nicely together like a puzzle; I wanted the sculptures to emulate the fluidity of movement like the human body.
Once happy with the chosen pieces, they were secured to the steel frame with screws and bolts.
Using Corel-DRAW Rob scanned my butterfly wings and we cut them out of galvanized steel with the CNC (Computer Numerically Control) Plasma Cutter. Holes were drilled along the stencil outline to allow for *beads to be strung. (*I originally thought to use beads but decided to keep everything natural, converting to shells.) To attach the wings securely to the pole, a steel bracket was welded together so they could be bolted from behind.
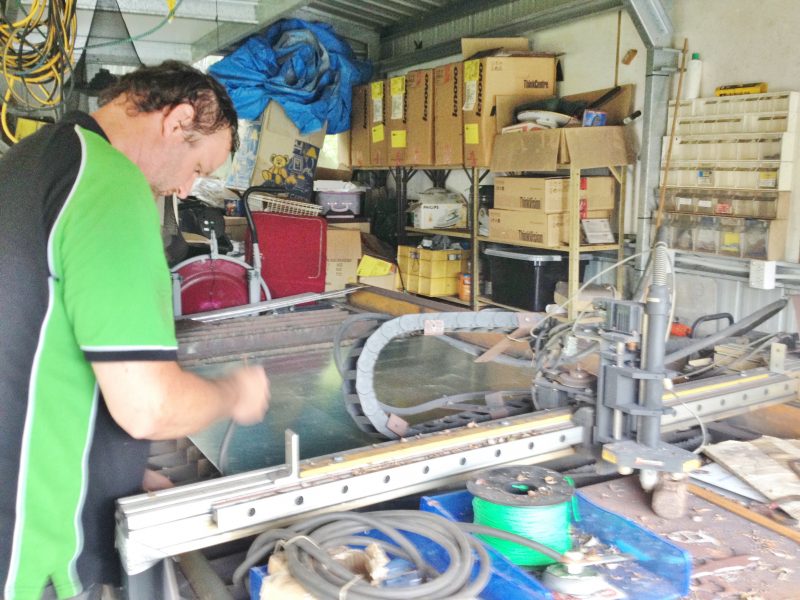
Rob Newell imputting Kat’s design into the laser cut to achieve a symmetrical end product.
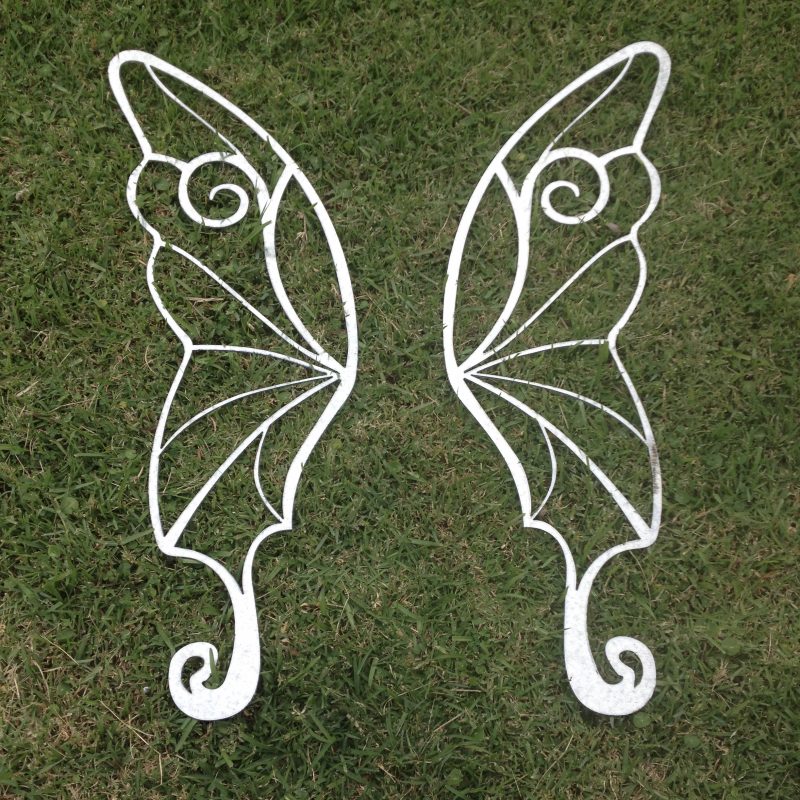
The final steel stencil of the butterfly wings
Next Post:
6. Building the Hunters
To discover more:
0. Winner of Sculpture in the Gaol 2018
1. The Submission
2. A Creative Mind
3. A Wild Heart
4. A Soul that Sings
5. The Beginning
6. Building the Hunters
7. The Beat of the Butterfly
8. The Bases
9. The Finishing Touches
10. Wrapped and Packed
11. Installation Day
12. Sculpture in the Gaol – Open Day
13. Inside Trial Bay Gaol
14. Photo Gallery
15. Roll Tape (All videos)
16. Social Butterfly
For sales and media enquiries please email:
kat@katatkinscreative.com