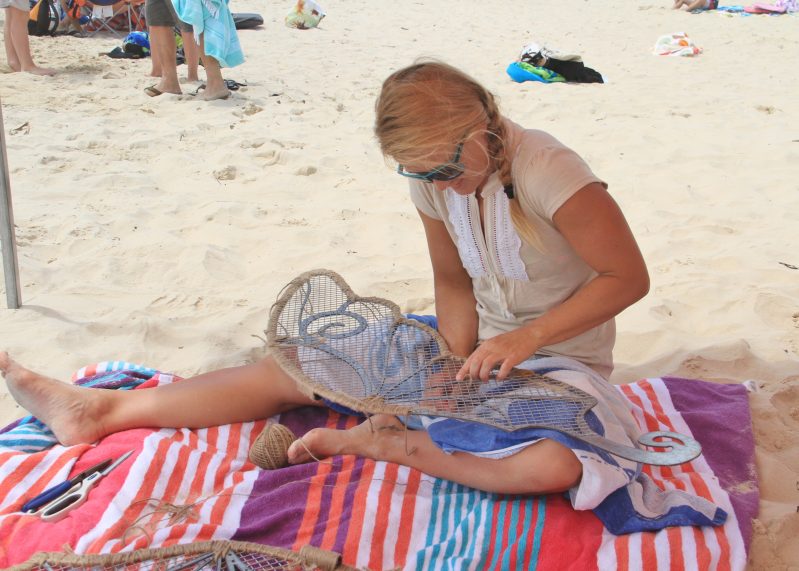
Giving consideration to the steel stencil of the wings, it occurred to me that as well as introducing colour, they needed to be very sturdy.
Even though holes were drilled along the edges (originally to string beads), I wondered how I was going to position the shells aesthetically, so that it looked neat and also symmetrical.
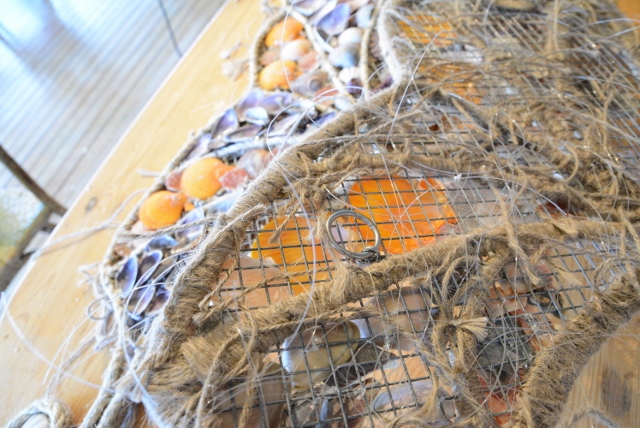
The shells needed to sit flat and also be secure, a decision was made to use wire mesh. Using pliers, wire was twisted through the drilled holes to secure the mesh in place and finally the edges were trimmed to fit the wings. This also prevented the large surface area of the steel wings from bending and created a strong flat surface.
With a steel and wire base I had to make these wings look natural, like the Rhythm Hunters. Using hemp twine, I wrapped the twine in-between the wire and around the stenciled wings to hide the steel outline. (Now that its complete this is a process that could have been skipped as it was well and truly covered once complete – thats art for you.)
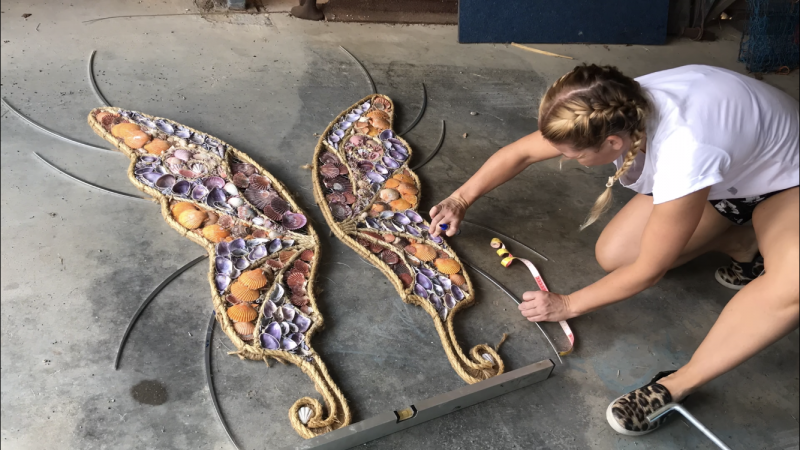
With the wings spread out, the shells were then paired up, enabling me to match the same types and sizes of shells. Therefore, I was able to make each wing as close to symmetrical as possible…
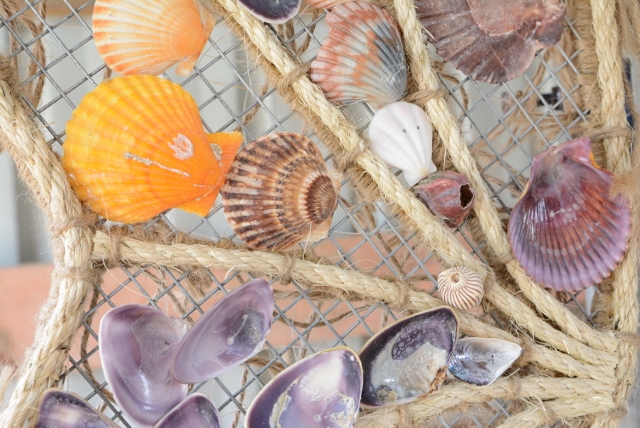
Drilling each shell individually, I then tied them onto the wire mesh with strong fishing line, securing them in place. (Looking back now, I could have also done this differently however it was the best option at the time.)
To fill in the gaps just like the Rhythm Hunters and to hide the wire mesh, the sand/BondCrete mix was used with smaller shells to block out each sectioned piece of the wing to create a beautiful vibrant set of wings.
To make the outline of the wings more prominent, I clamped and glued down 10mm sisal rope and also tied it on with hemp twine. Once all sections were completely filled, this rope outline was not as prominent. A second raised outline was needed (which in hindsight should have been done first, as it was quite difficult to get the second layer of rope to stay in place, but with persistence, I succeeded.)
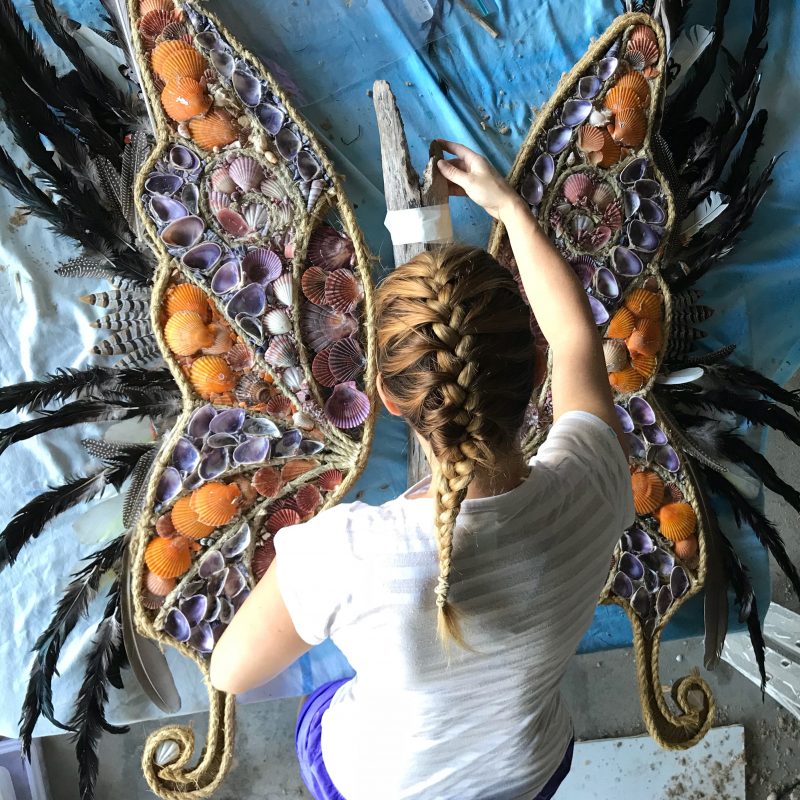
I realised that with the added cement like mix, the wings would become heavy. So before filling it in, I bolted on two galvanized steel rings at the top and bottom of each wing. If required I could run a line/rope back to the base to secure and stabilise them. (Another process not required but a nice option to have.)Once the front of the wings was close to finish, I realized the back of the wings needed to look just as pretty.
I wanted to add feathers but was unsure of how to 1. Find feathers large enough and/or 2. How to secure them.
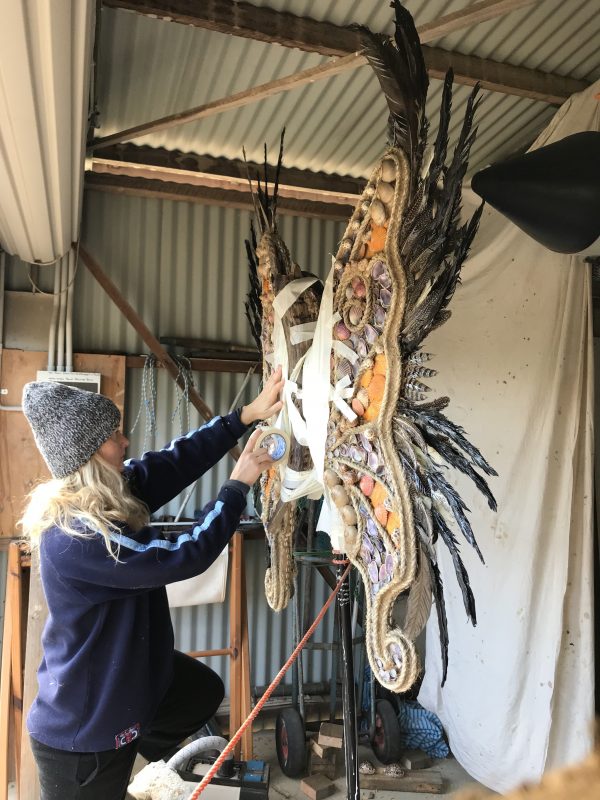
A sign supplier on the Gold Coast had some curved aluminium offcuts and thought I might be able to do something with them… voila! Problem solved.
These were also the perfect length to run from the body of the butterfly and extend to create a powerful wing span.
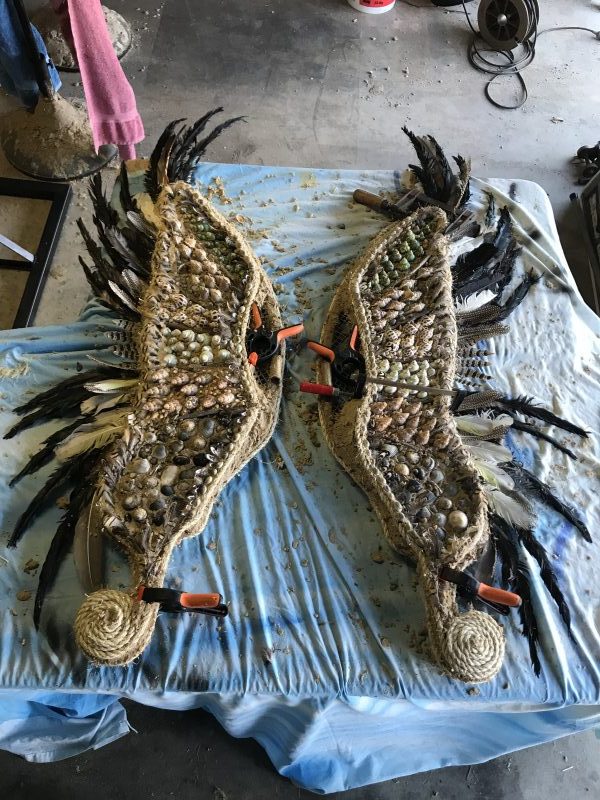
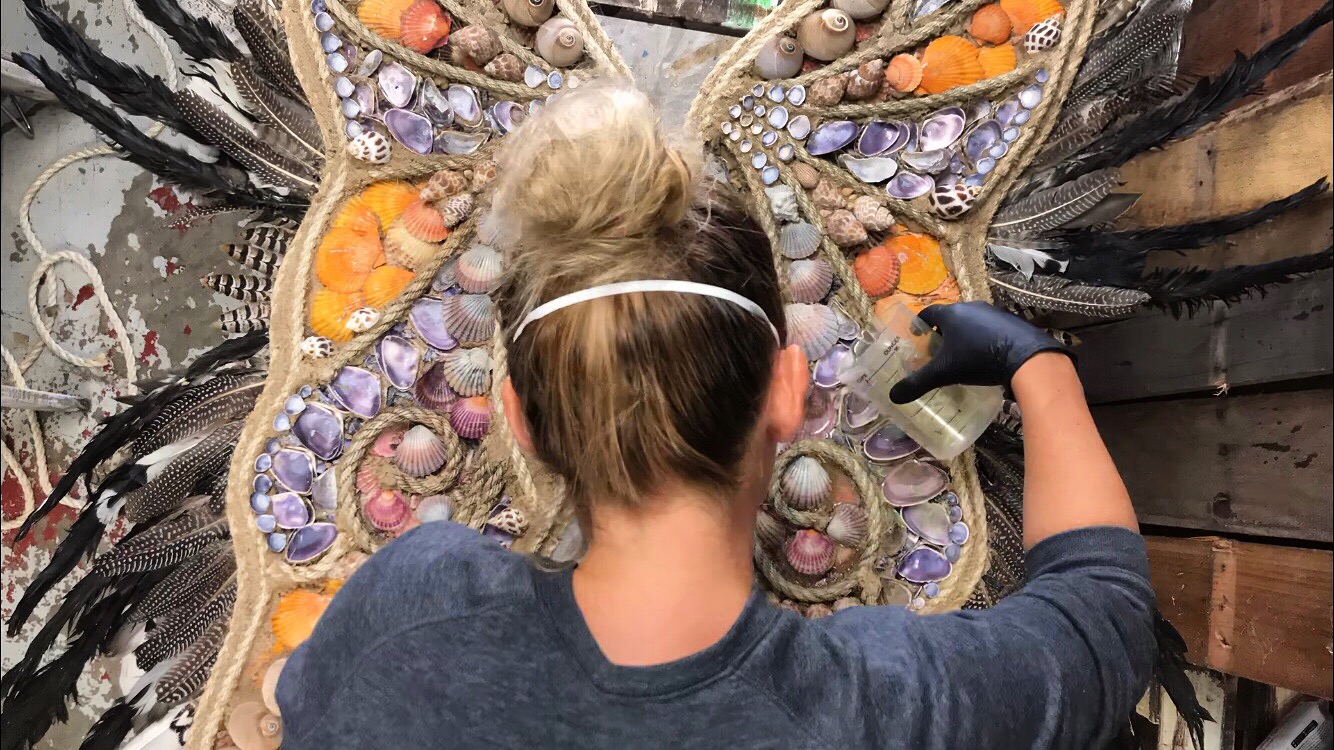
Multiple smaller feathers were attached, bondcrete laid on top, shells set in place, resin poured.
The wings were bolted to a customised steel bracket, pre-welded at the beginning by Rob Newell. The front driftwood body piece was drilled and rope lashed through the wire mesh and tied at the back.
The back piece was the most difficult piece to secure. I originally had multiple coconuts but they did not want to stay put and distracted from the wings.
I found a base of a palm frond that became the perfect fit. However this too was originally a struggle to attach without drilling into it. I eventually gave in and drilled four holes at the bottom to lash around the centre pole, I filled underneath with bondcrete as well as the the top and the edges decorated with shells to hold in place.
This was the longest section to dry, once set, resin was then poured for a complete seal.
Did you miss you the steel stencil was made?
Back track:
 With the wings spread out, the shells were then paired up, enabling me to match the same types and sizes of shells. Therefore, I was able to make each wing as close to symmetrical as possible…
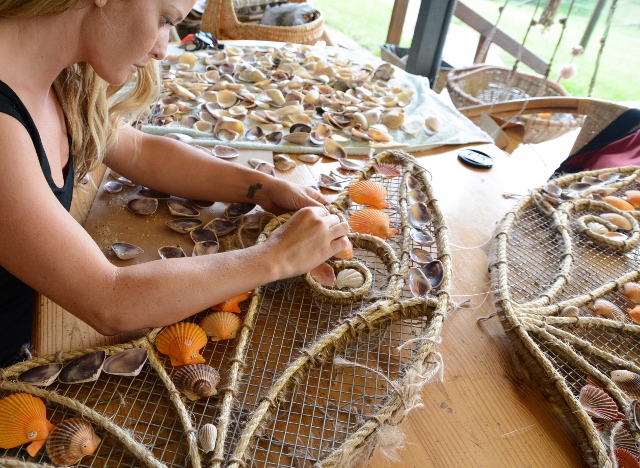

 Once the front of the wings was close to finish, I realized the back of the wings needed to look just as pretty.